HubSpot AI Lead Scoring Setup is something most users have turned on. Almost none of them have it set up correctly.
The typical setup looks like this: someone spent an afternoon in 2022 assigning point values to contact actions — 10 points for opening an email, 25 for visiting the pricing page, 50 for filling out a demo form. It made sense at the time. Then the ICP shifted, the sales process changed, and nobody touched the scoring model again.
The result is a lead score that reflects your assumptions from three years ago, not the behavioral patterns in your actual closed-won deals.
HubSpot’s AI-powered lead scoring fixes this. Instead of manual point assignments, it analyzes your historical deal data and builds a machine learning model around the properties and behaviors that actually predicted conversion. It updates continuously as new data comes in.
This guide walks through the full setup — including the conditions you need to meet before the AI model is accurate, and the configuration decisions that most tutorials skip.
Before You Start: Do You Have Enough Data?
This is the step most setup guides gloss over, and it’s the most important one.
HubSpot’s AI lead scoring model learns from your closed deals. Specifically, it compares the properties and behaviors of your closed-won contacts against your closed-lost ones and identifies which patterns were most predictive of each outcome.
If you don’t have enough closed deals, the model doesn’t have enough signal to build reliable patterns. The minimum threshold HubSpot recommends is around 200 closed deals total — but the quality of those deals matters as much as the quantity. If your deals are inconsistently logged, missing properties, or concentrated in one segment, the model will reflect those gaps.
Check before proceeding:
- Go to CRM → Deals → filter by “Deal Stage is Closed Won” — how many do you have?
- Check that key contact properties (job title, company size, industry) are populated on a majority of those records
- Confirm your lifecycle stages are being used consistently — contacts should be moving through stages, not sitting in “Lead” indefinitely
If you have fewer than 100 closed deals or your data quality is poor, spend time on data hygiene first. Come back to AI scoring once your foundation is solid. A manual scoring model with well-defined rules will outperform a poorly-trained AI model every time.
Understanding the Two Scores HubSpot Generates
HubSpot’s AI lead scoring produces two separate outputs, and understanding the difference changes how you use them.
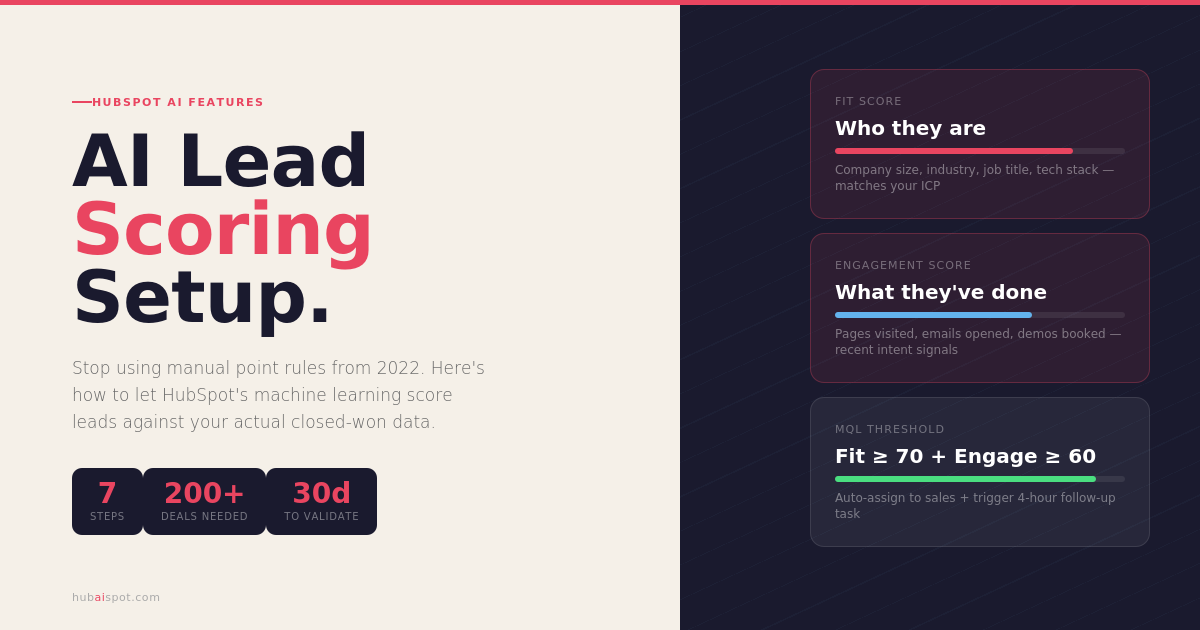
Contact Fit Score evaluates who the contact is — their firmographic and demographic properties. Company size, industry, job title, location, technology stack. It answers the question: does this person look like our ideal customer?
Engagement Score evaluates what the contact has done — their behavioral history. Email opens, page visits, form submissions, content downloads, meetings booked. It answers the question: is this person actively interested right now?
Having both scores separately is more useful than a combined score because the follow-up action is different:
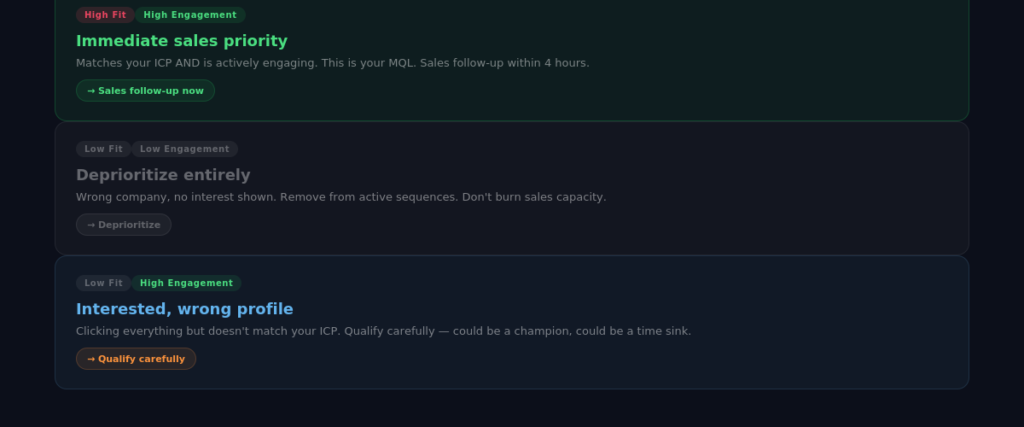
- High fit, low engagement: They look like a great customer but haven’t shown interest yet. They belong in a long-term nurture sequence, not an immediate sales follow-up.
- High engagement, low fit: They’re clicking everything but don’t match your ICP. Qualify carefully before investing sales time.
- High fit, high engagement: Immediate sales follow-up. This is your MQL threshold.
- Low fit, low engagement: Deprioritize or disqualify.
Step-by-Step HubSpot AI Lead Scoring Setup
Step 1: Access the Lead Scoring Tool
Navigate to CRM → Properties → Lead Scoring in your HubSpot portal. You’ll see two property options: HubSpot Score (manual) and Likelihood to Close (AI-powered).
If you’re currently using HubSpot Score for manual scoring, don’t delete it yet — keep it running in parallel while you validate the AI model over 30–60 days.
Select Likelihood to Close to access the AI scoring setup.
Step 2: Enable the AI Model
HubSpot will show you a readiness assessment based on your current data. It evaluates:
- Number of closed deals in your portal
- Contact property completeness
- Lifecycle stage consistency
- Engagement data availability
If HubSpot flags data gaps, address them before proceeding. The readiness assessment tells you exactly what’s missing — take it seriously.
Once the model is enabled, HubSpot begins analyzing your historical deal data. Depending on your data volume, the initial model build takes between a few hours and 24 hours.
Step 3: Configure Your Fit Score Criteria
The Fit Score is the one part of AI lead scoring that requires your input. HubSpot knows your closed deal patterns but doesn’t know which contact properties define your ideal customer profile unless you tell it.
In the scoring setup, define your ICP properties:
Company-level properties to include:
- Industry (select the industries where you close most deals)
- Company size / number of employees (set a range that matches your sweet spot)
- Annual revenue (if relevant to your ICP)
- Technology used (if you know your best clients use specific tools)
Contact-level properties to include:
- Job title / seniority level (which personas close most often?)
- Department
- Country or region (if you’re geo-focused)
Be specific but not narrow. If you over-specify, you’ll eliminate good leads that don’t fit the template perfectly. If you under-specify, the fit score adds no signal. A good starting point is three to five high-signal properties.
Step 4: Set Your Engagement Score Parameters
The Engagement Score is largely automated — HubSpot calculates it based on contact activity in your portal. But you can weight certain activities more heavily than others.
Go through your activity types and ask: which actions have historically preceded a close? For most B2B businesses, the highest-signal activities are:
- Visiting the pricing page (weight: very high)
- Booking a meeting or demo (weight: highest)
- Downloading a bottom-of-funnel asset (case study, ROI calculator) (weight: high)
- Viewing five or more pages in one session (weight: medium-high)
- Opening three or more emails in a sequence (weight: medium)
Top-of-funnel activities like opening a single email or visiting the blog should be weighted low — they indicate awareness, not intent.
Step 5: Define Your MQL Threshold
This is where many setups fall apart. Setting the MQL threshold — the score at which a contact passes from marketing to sales — requires calibration against your actual conversion data.
Start by looking at your closed-won contacts: what were their average fit and engagement scores at the point of conversion? Run a contact list filtered by “Deal is Closed Won” and examine the score distribution.
A common starting framework:
- MQL threshold: Fit score ≥ 70 AND Engagement score ≥ 60
- High priority MQL: Fit score ≥ 80 AND Engagement score ≥ 80
- Sales Qualified Lead (SQL): MQL + meeting booked or demo requested
Build these as active lists in HubSpot so they update automatically as contacts reach the threshold.
Step 6: Build the Handoff Workflow
The scoring model is only useful if it triggers action. Create a workflow that:
- Enrollment trigger: Contact reaches MQL threshold (Fit ≥ 70, Engagement ≥ 60)
- Action 1: Set Lifecycle Stage to “Marketing Qualified Lead”
- Action 2: Assign contact owner (round-robin to sales team or specific rep)
- Action 3: Create a task for the assigned rep: “New MQL — follow up within 24 hours”
- Action 4: Send internal Slack or email notification to sales team
- Action 5: Enroll in MQL nurture sequence (if no immediate response from sales)
Add a branch: if the contact already has an open deal, skip the assignment step and notify the deal owner instead.
Step 7: Set Up Score Decay
This is the most commonly skipped step and one of the most important.
Engagement scores without decay accumulate over time — a contact who visited your site 18 months ago still carries that engagement score today, even if they’ve gone completely cold. This inflates your MQL list with stale leads.
In HubSpot’s scoring settings, enable time-based decay for engagement activities. A reasonable decay model:
- Activities older than 90 days: reduce weight by 50%
- Activities older than 180 days: reduce weight by 75%
- Activities older than 365 days: zero weight
This ensures your engagement score reflects recent intent, not historical curiosity.
Validating the Model Over 30 Days
Don’t just set it and forget it. For the first 30 days after enabling AI scoring, run your old manual HubSpot Score in parallel. Each week, compare:
- Which contacts did the AI model flag as high-fit?
- Did those contacts convert at a higher rate than your previous MQL definition?
- Are sales reps finding the MQL quality better, worse, or the same?
At the 30-day mark, review with your sales team. Adjust the MQL threshold up if there are too many low-quality leads reaching sales. Adjust it down if qualified prospects are being held back in nurture too long.
The model improves as more deals close. Expect it to get meaningfully better at the 90-day mark once it has a new cohort of closed deals to learn from.
Common Mistakes to Avoid
Using AI scoring without clean data. The model is only as good as your CRM data quality. Missing job titles, unqualified contacts in your database, and inconsistent lifecycle stages all degrade model accuracy.
Setting the MQL threshold too low. This floods sales with low-quality leads and erodes trust in the scoring system. Start conservative and lower the threshold only if qualified leads are being missed.
Not building decay into engagement scores. Without decay, old activity inflates scores permanently. Your lead score becomes a measure of lifetime engagement rather than current intent.
Ignoring the fit score. Many teams focus only on engagement (who’s clicking) and ignore fit (who they are). A contact with perfect engagement but a terrible fit score is a time sink for sales, not an opportunity.
Skipping the parallel validation period. Trust takes time. Running the AI model alongside your existing model for 30–60 days lets you validate it before fully committing.
What to Do After Setup
Once your AI lead scoring is running, connect it to the rest of your HubSpot stack:
- Use score segments in your email marketing — high-fit, low-engagement contacts get different nurture content than low-fit, high-engagement contacts
- Build smart content on your website that adapts based on a visitor’s lead score if they’re a known contact
- Use score data in your sales sequences — reps can see a contact’s fit and engagement breakdown before calling, which improves conversation quality
- Feed score data into your reporting dashboards — track MQL-to-SQL conversion rate over time to measure whether the model is improving
For the broader picture of which HubSpot AI features are worth turning on alongside lead scoring, see AI Features That Actually Move the Needle in HubSpot Marketing Hub.
Leave a Reply